There is one more innovation in our service - forms. We'll show you now how to create them and why that is so useful.
You can create any form with various fields in accordance with the task at hand (e.g., booking form, contact form, payment form). Send them using the WebPhone live chat. This will allow you to get all the necessary data from the client quickly without sending any additional documents or fill-out forms via email.
How to create the form?
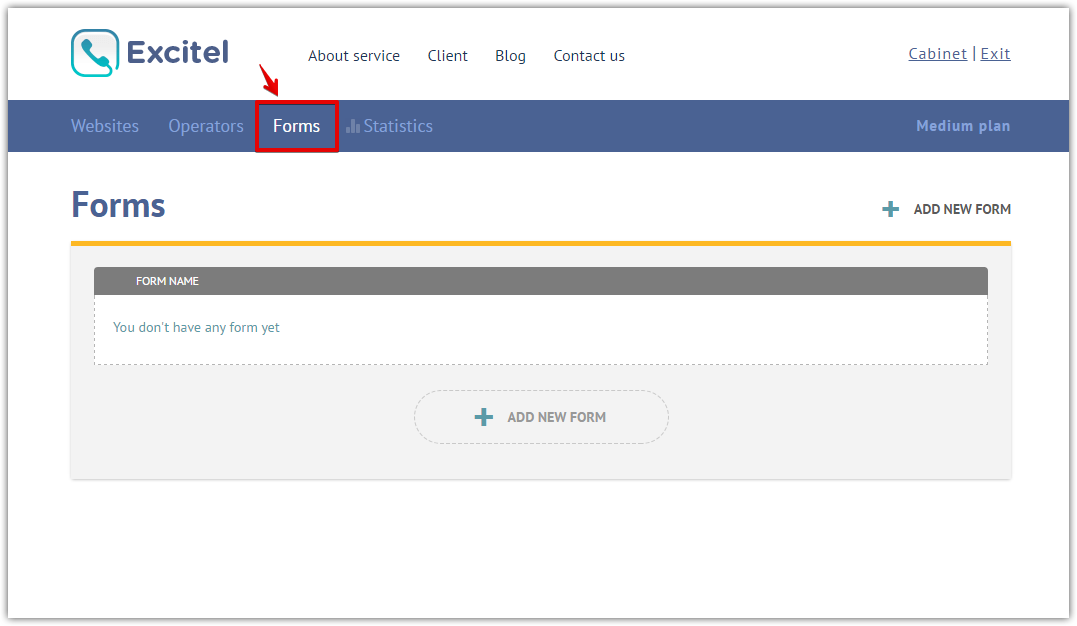
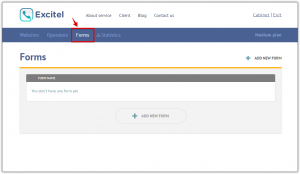
You can find “Forms” tab in your Cabinet:
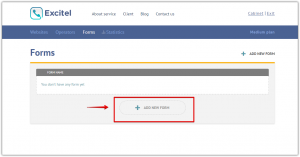
Choose “Add new form” to create a new form:
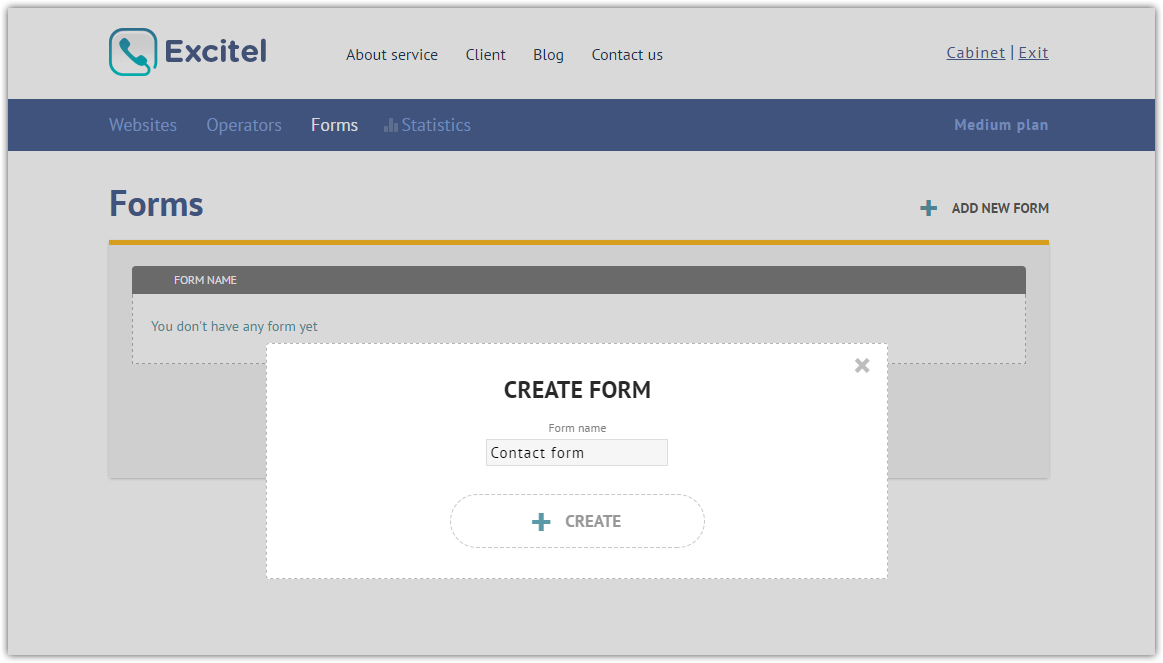
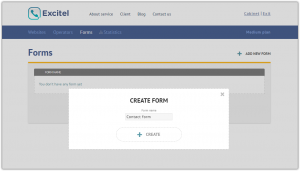
After that enter the name of the form and click “Create”.
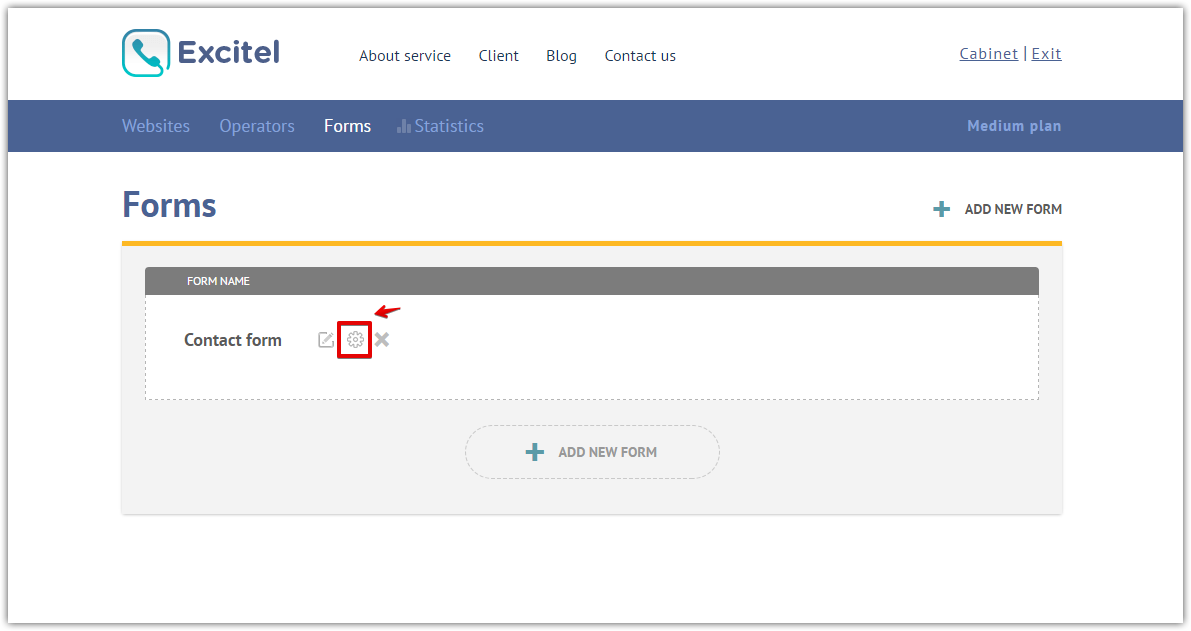
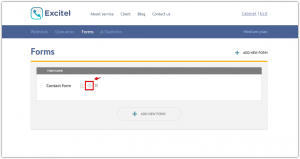
Now you have a new form which needs certain settings. Click on the configuration icon (the one in the form of spanner) to start setting the from up:
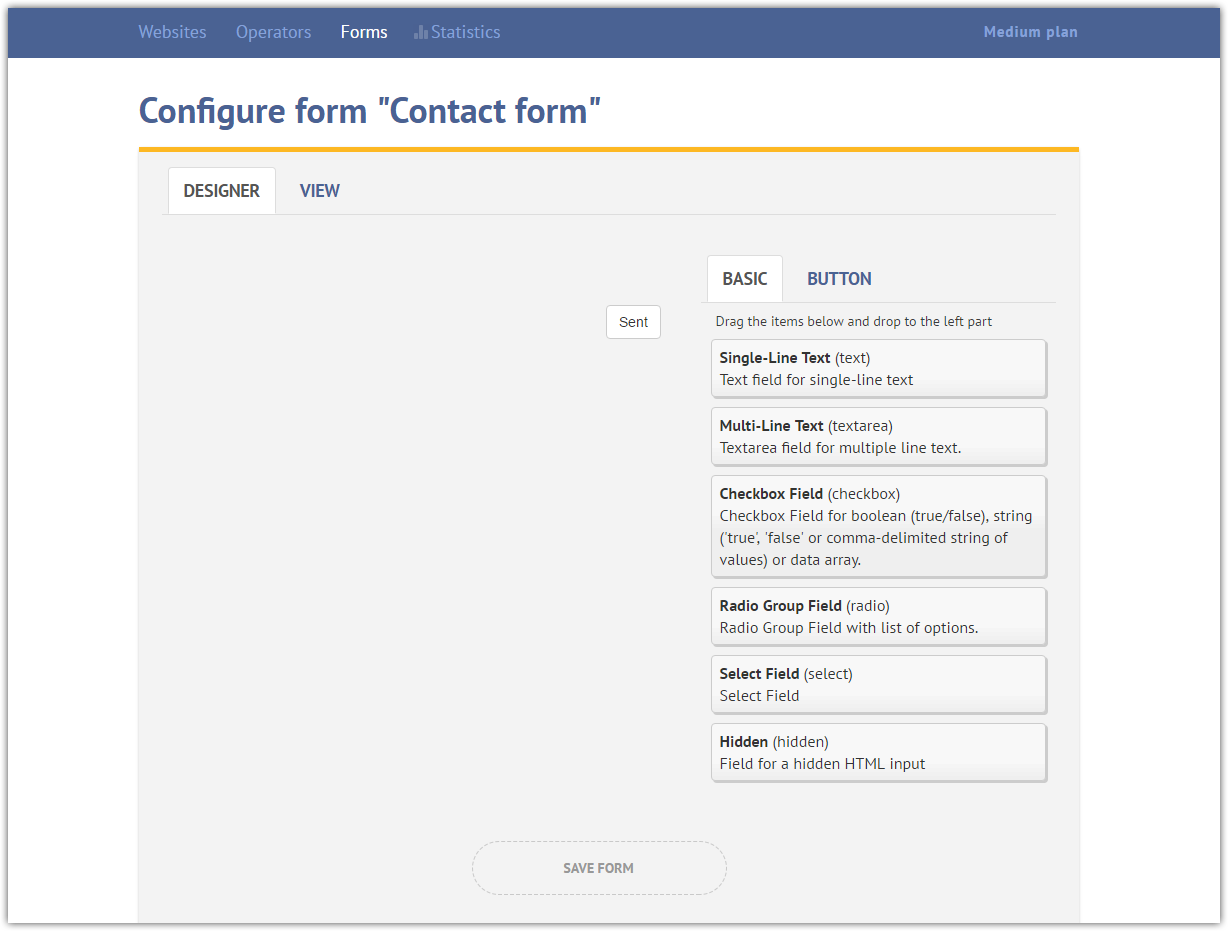
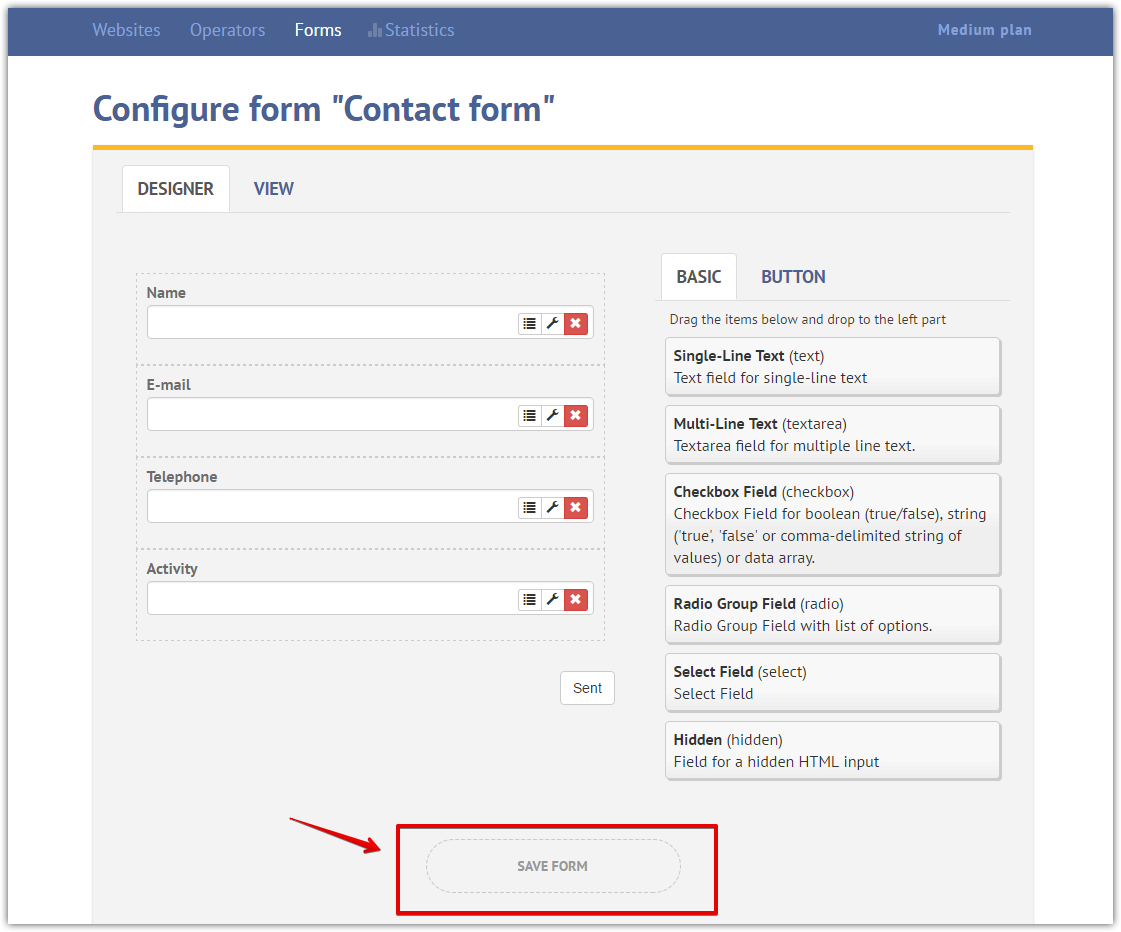
Now you are in the form Designer:
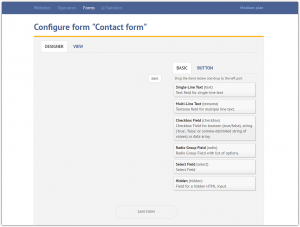
Here you need to add all the required fields for the form. For that click on the necessary field and drag it to the left:
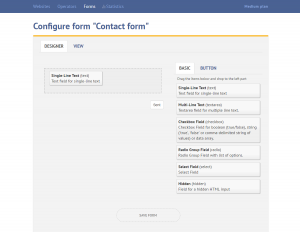
As a result this field will appear on the left side of the page. To change this field, click on the spanner icon:
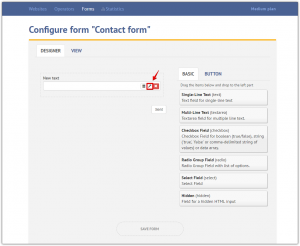
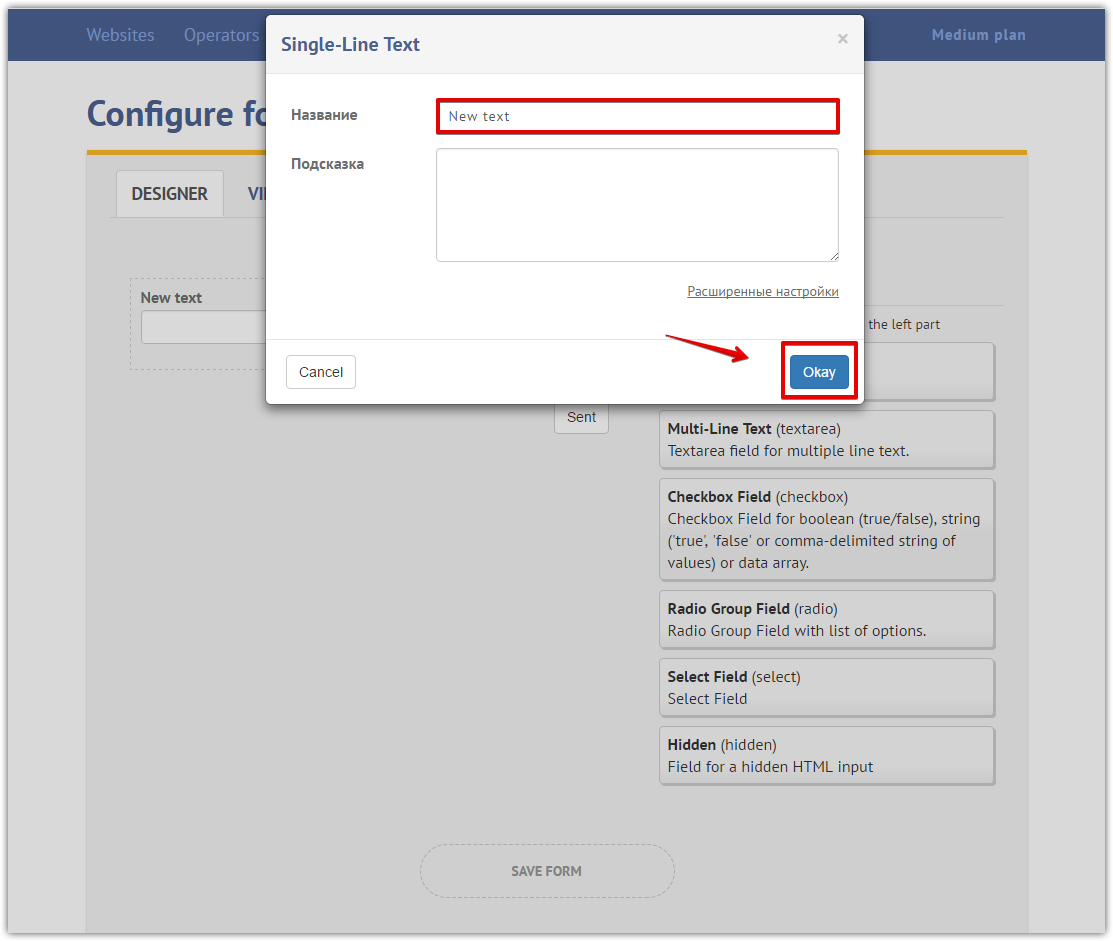
Enter the required name for the field and click “Okay”:

After adding all the necessary fields for the form, save changes by clicking “Save form”:

Submitting forms via WebPhone
So, the form is created. Now it can be sent to the client in chat right during the call.
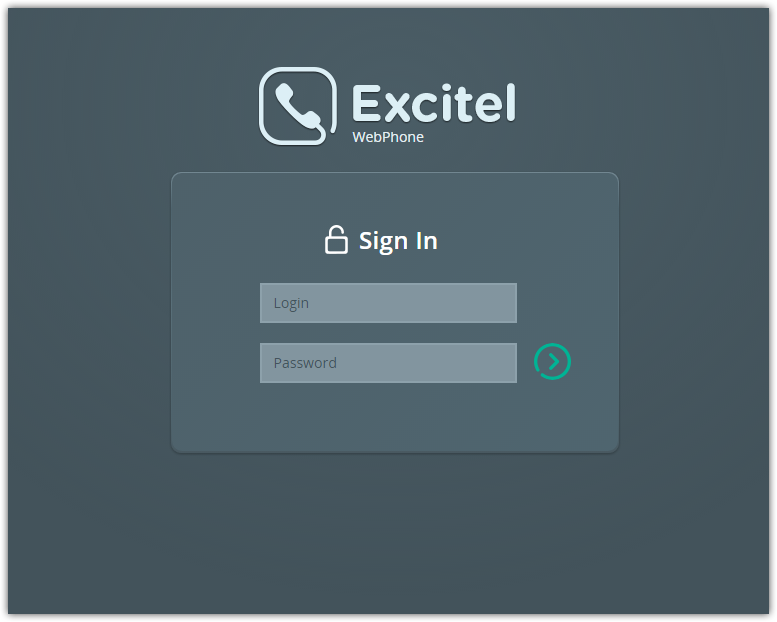
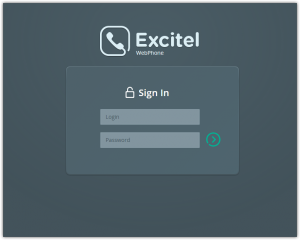
How to do that? Start with authorization in WebPhone:
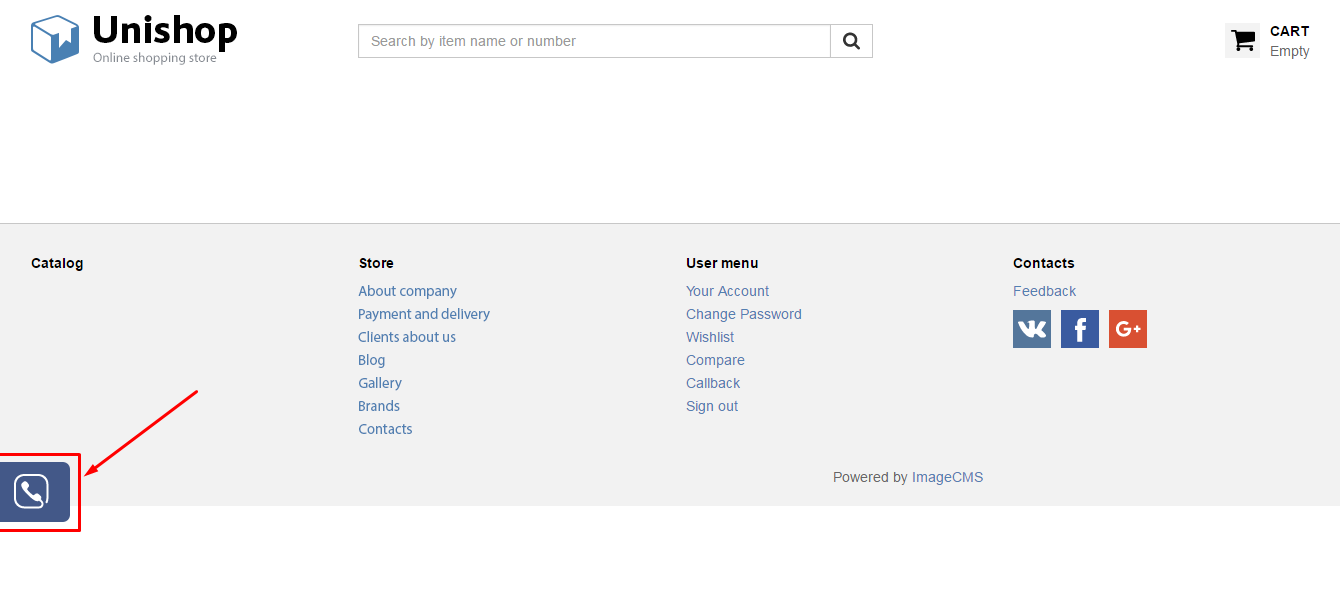
Click on the call button on your website:

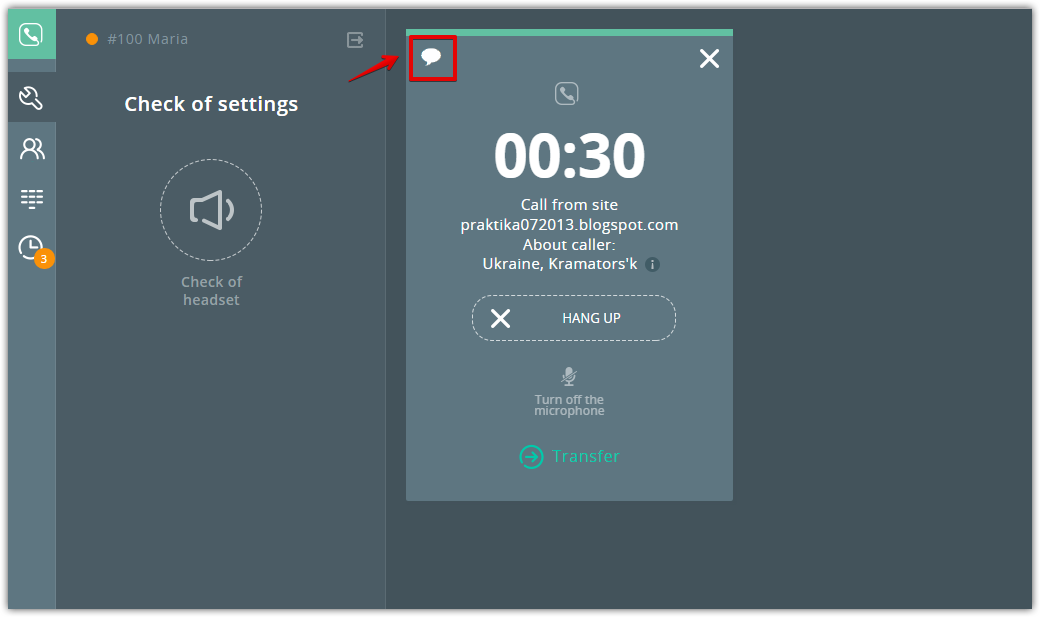
Answer the call via WebPhone and start the chat:
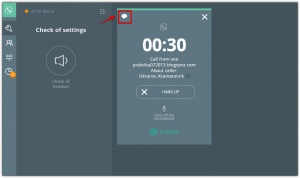
Then click on the icon of the form:
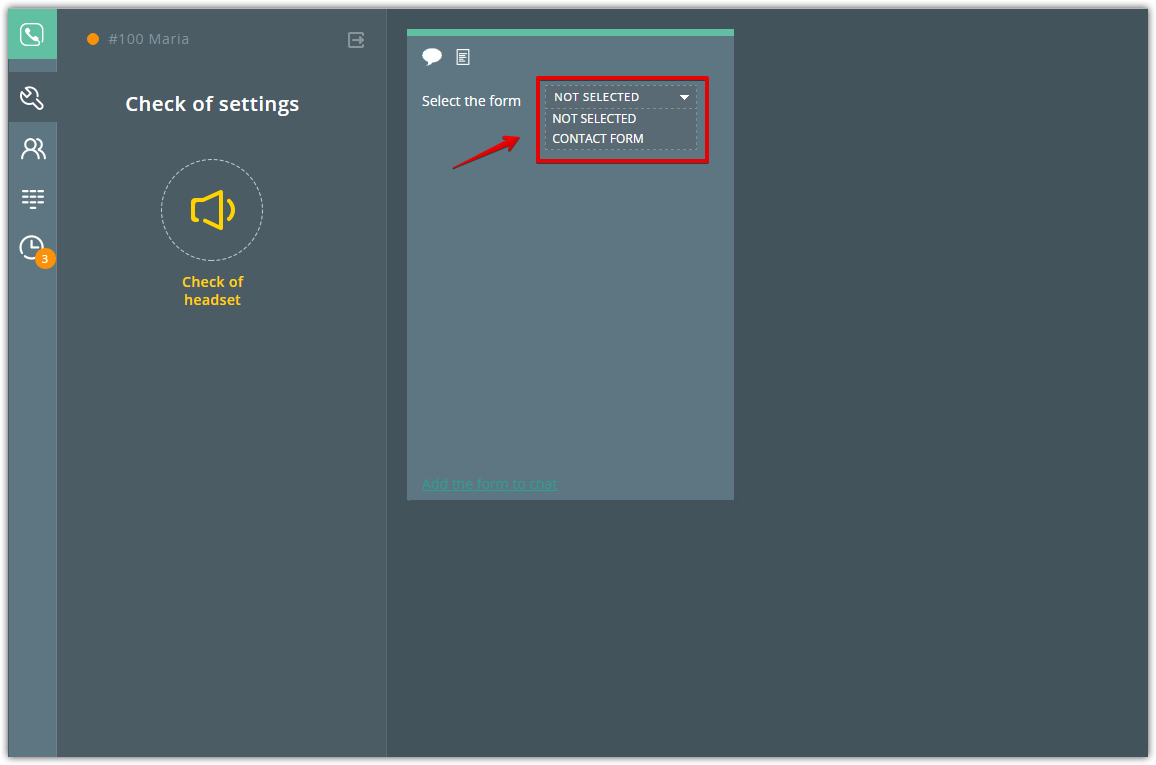
Select the necessary form:

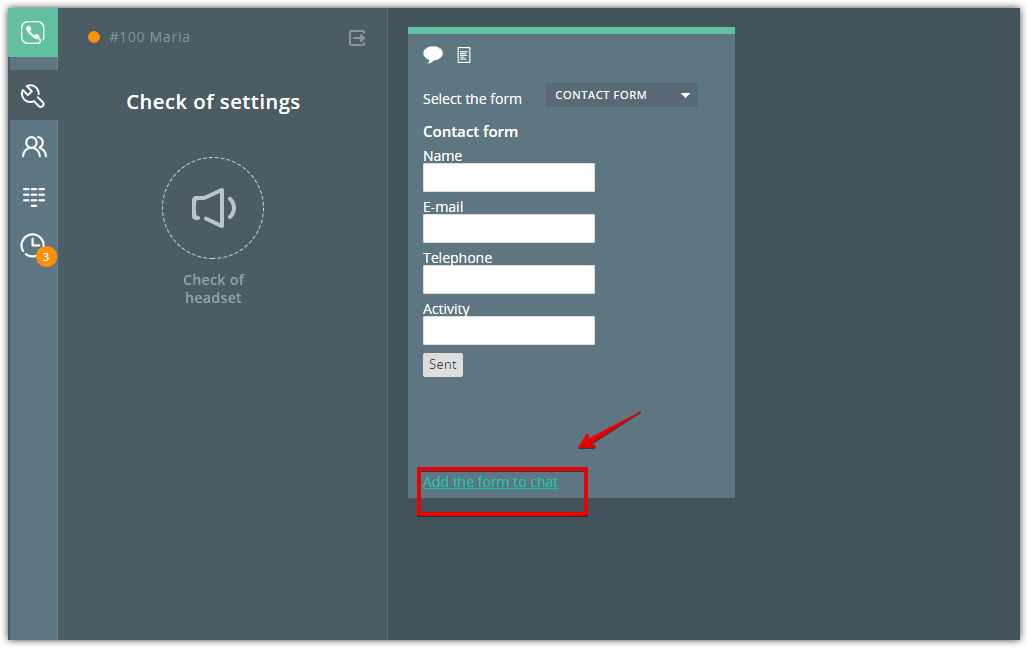
To submit the form to the client, click “Add form in the chat”:

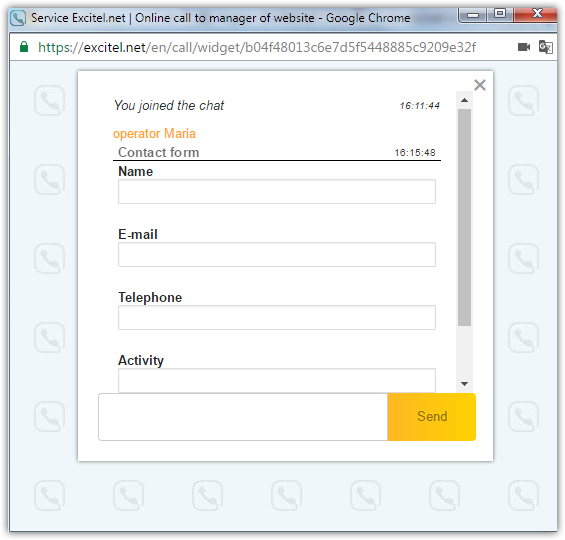
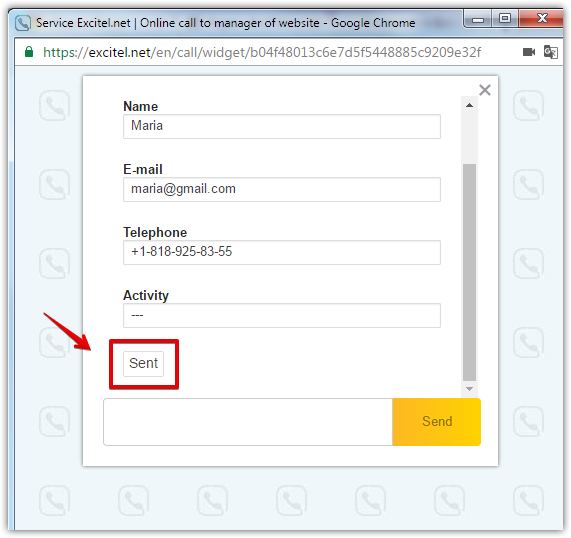
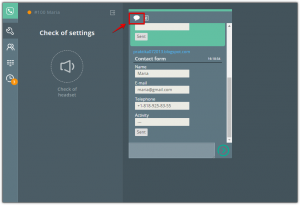
Then this form will appear in the client’s chat window:

After filling out all data, the client clicks “Send” button and transmits the completed form back to the operator:

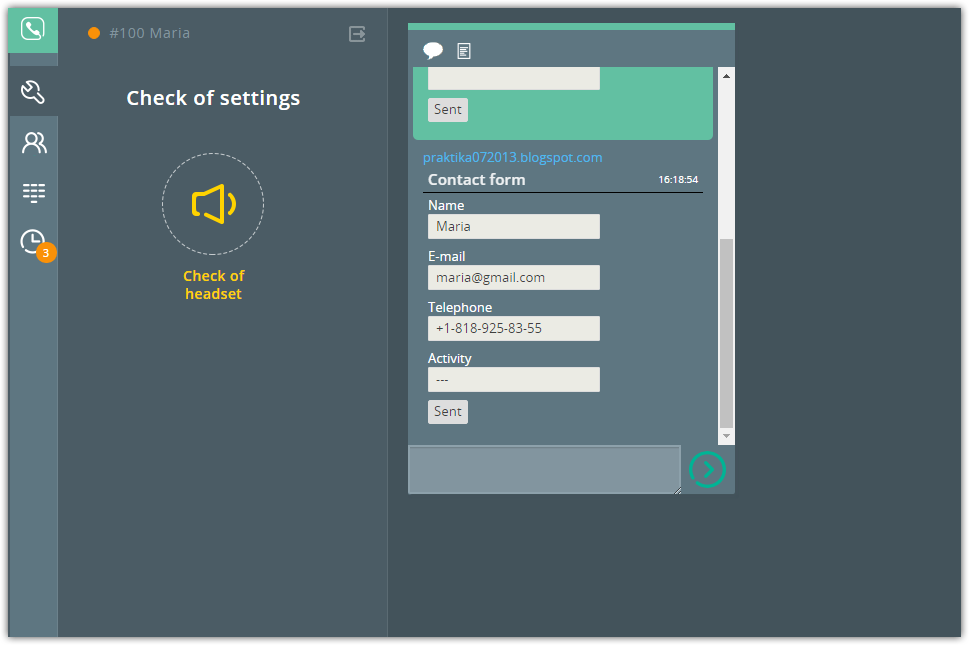
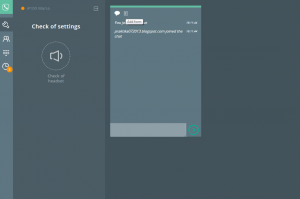
After that, the operator can see all data in the chat:

To log out and end the call, the operator needs to click on the chat icon:
Use Click-to-Call forms and make your communication with clients more comfortable!
Still have questions? Contact us.